2.1 Mounting Instructions
The sensors which are used for attitude determination (AHRS) have to be aligned with the aircraft or at least properly calibrated for installation error. They must not be moved or rotated during flight or else the determined attitude will be inaccurate or wrong.
In case you use internal sensors for AHRS, the whole tablet must be mounted in a fixed position inside the cockpit.
In case of an external sensor usage, the tablet can be moved freely inside the cockpit while the external sensors have to be mounted in a fixed position.
Please make sure that your mounting solution can be used legally and does not interfere with a safe and lawful flight.
2.1.1 SensorBox Mount Suggestions
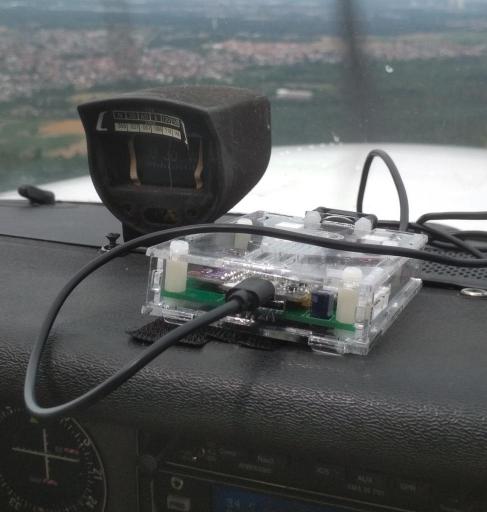 |
In case you use our SensorBox or a third party SensorBox (using the GDL90 protocol) for independent AHRS (Attitude and Heading) estimation, you need to mount it in a fixed position inside the cockpit while your tablet can be moved freely. The easiest way is to mount it aircraft aligned on the dashboard. Nevertheless you can mount it in arbitrary positions and orientations inside the cockpit provided you calibrate for the resulting installation error. Calibration for installation error is always recommended for any mounting position, since it is difficult to mount it exactly aircraft aligned. In case you want to receive ILS (Localizer and Glideslope) signals, please make sure to place your antennas where a "line of sight" between the antennas and the Loc/Gs senders can be maintained. One way to do this is to stick the antennas with some tape to the (inside) top of the windshield. This should also be a good place for ADS-B reception. |
2.1.2 Tablet Mount Suggestions
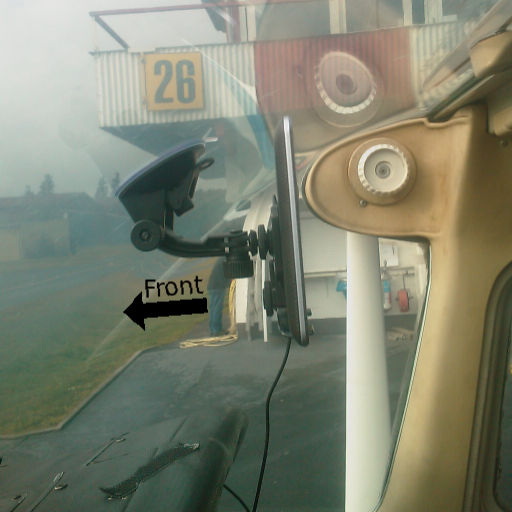 |
Sucker at the windshield: Please note that suckers usually do not stick reliably to the windshield. This is most often because of dirt or cracks on the sucker or on the windshield or because of changes in air pressure and temperature over time. If you mount your tablet with a sucker you should expect it to fall down during flight. This mounting option can be used with internal and external sensors. |
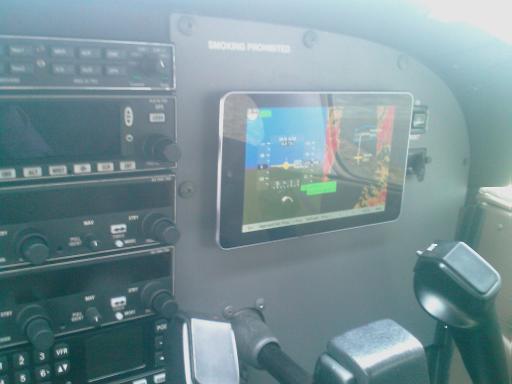 |
Velcro tape between tablet and instrument panel: A pretty reliable mounting option is to use Velcro tape to attach the tablet directly to the instrument panel. Unfortunately you will likely be unable to receive GNSS/GPS signals with the internal GNSS/GPS receiver at this position. Therefore you might need our external SensorBox, a third-party box (GDL90) or an external bluetooth gps receiver. This mounting option can be used with internal and external sensors. |
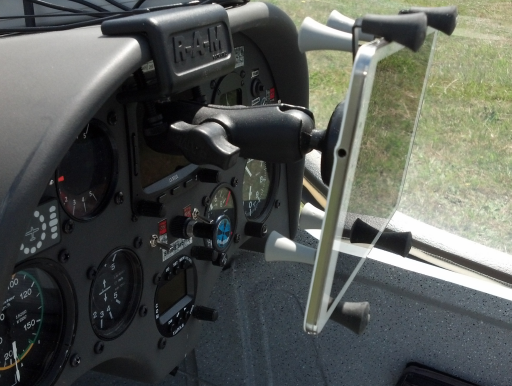 |
Clamp at the dashboard: Tablet mounting devices with a clamp for the dashboard are commercially available for example from RamMount (R). Although internal GNSS/GPS signal reception should be better than directly at the instrument panel it may still be necessary to use an external GNSS/GPS source. In case you have a passion for self made solutions, a similar mounting device can be made out of wooden boards, a screw clamp and some Velcro tape. This mounting option can be used with internal and external sensors. |
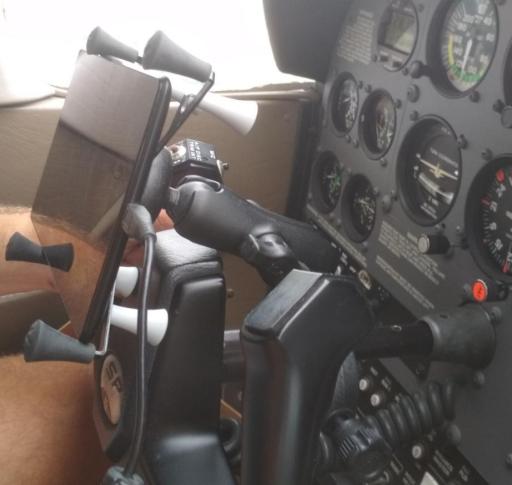 |
Yoke mount: This mounting option can be only be used with external sensors for AHRS. This is because the yoke is usually moving/rotating inside the cockpit when performing control input. If you want to use AHRS with this mounting option you need to use our external SensorBox or a third-party Sensor Box (GLD90). If you do not need an attitude estimation you can also use the internal gps or an external bluetooth gps receiver. Depending on the shape of your yoke, a cheap bicycle mount could probably also be used as a yoke mount. |
|
|
Kneeboard mount: This mounting option can be only be used with external sensors for AHRS, since the legs are usually not in a fixed pose inside the cockpit. If you want to use AHRS with this mounting option you need to use our external SensorBox or a third-party sensor box via GDL90. If you do not need an attitude estimation you can also use the internal gps or an external bluetooth gps receiver. |
2.1.3 Power Considerations
A tablet device is usually powered via USB (5 Volts) and usually requires up to 2 Ampere (depending on your tablet). If your power supply can not provide a high current, if your cable's resistance is too high or if the tablet does not recognize the charging configuration of your power supply, the battery may still be drained even with a power supply plugged in. Please make sure to use the appropriate hardware when needing a power supply.
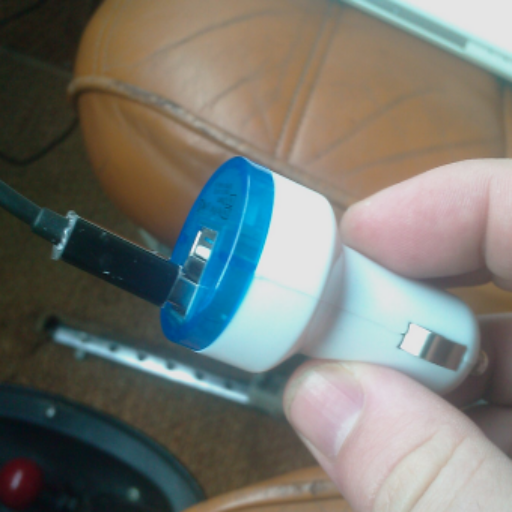
A tablet device is most often powered via an additional external battery with USB power output or a cigarette lighter -> USB power adapter.
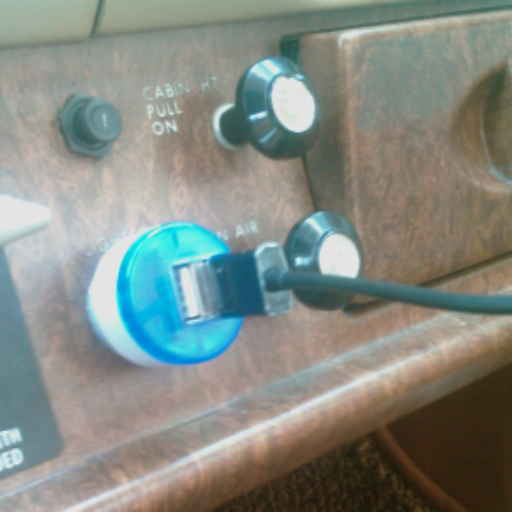
If you use the cigarette lighter -> USB power adapter you have to make sure that the maximum voltage of the adapter is greater than the maximum voltage of your cigarette lighter. For example: You can not use a 12V/24V adapter on a 24V/28V cigarette lighter.
Our external SensorBox can be powered by a cigarette lighter with up to 32V and can provide 5V up to 2A on the USB ports for USB device charging purposes.
|
|